
Listing Template: Linked Listings Widget
Introduction
The Linked Listings Widget allows you to manually associate different listings with one another and display these associations on your site.
Unlike the Related Listings widget, which displays listings based on search criteria, the Linked Listings Widget allows the site manager to choose exactly which listings should be linked.
This feature can be useful in a variety of situations, such as:
- Businesses that have multiple locations or branches.
- Clinics that want to display the professionals who are part of their team.
- Organizations that want to connect different listings that are directly related to each other.
In this example, we will simulate a medical clinic that wants to link its professionals' listings to the clinic's main listing.
🎥 See the Linked Listings Widget in Action
Watch the video below to see how to add the Linked Listings Widget to a Listing Template, link listings, and view the result on your site.
Step 1: Add the Widget to the Listing Template
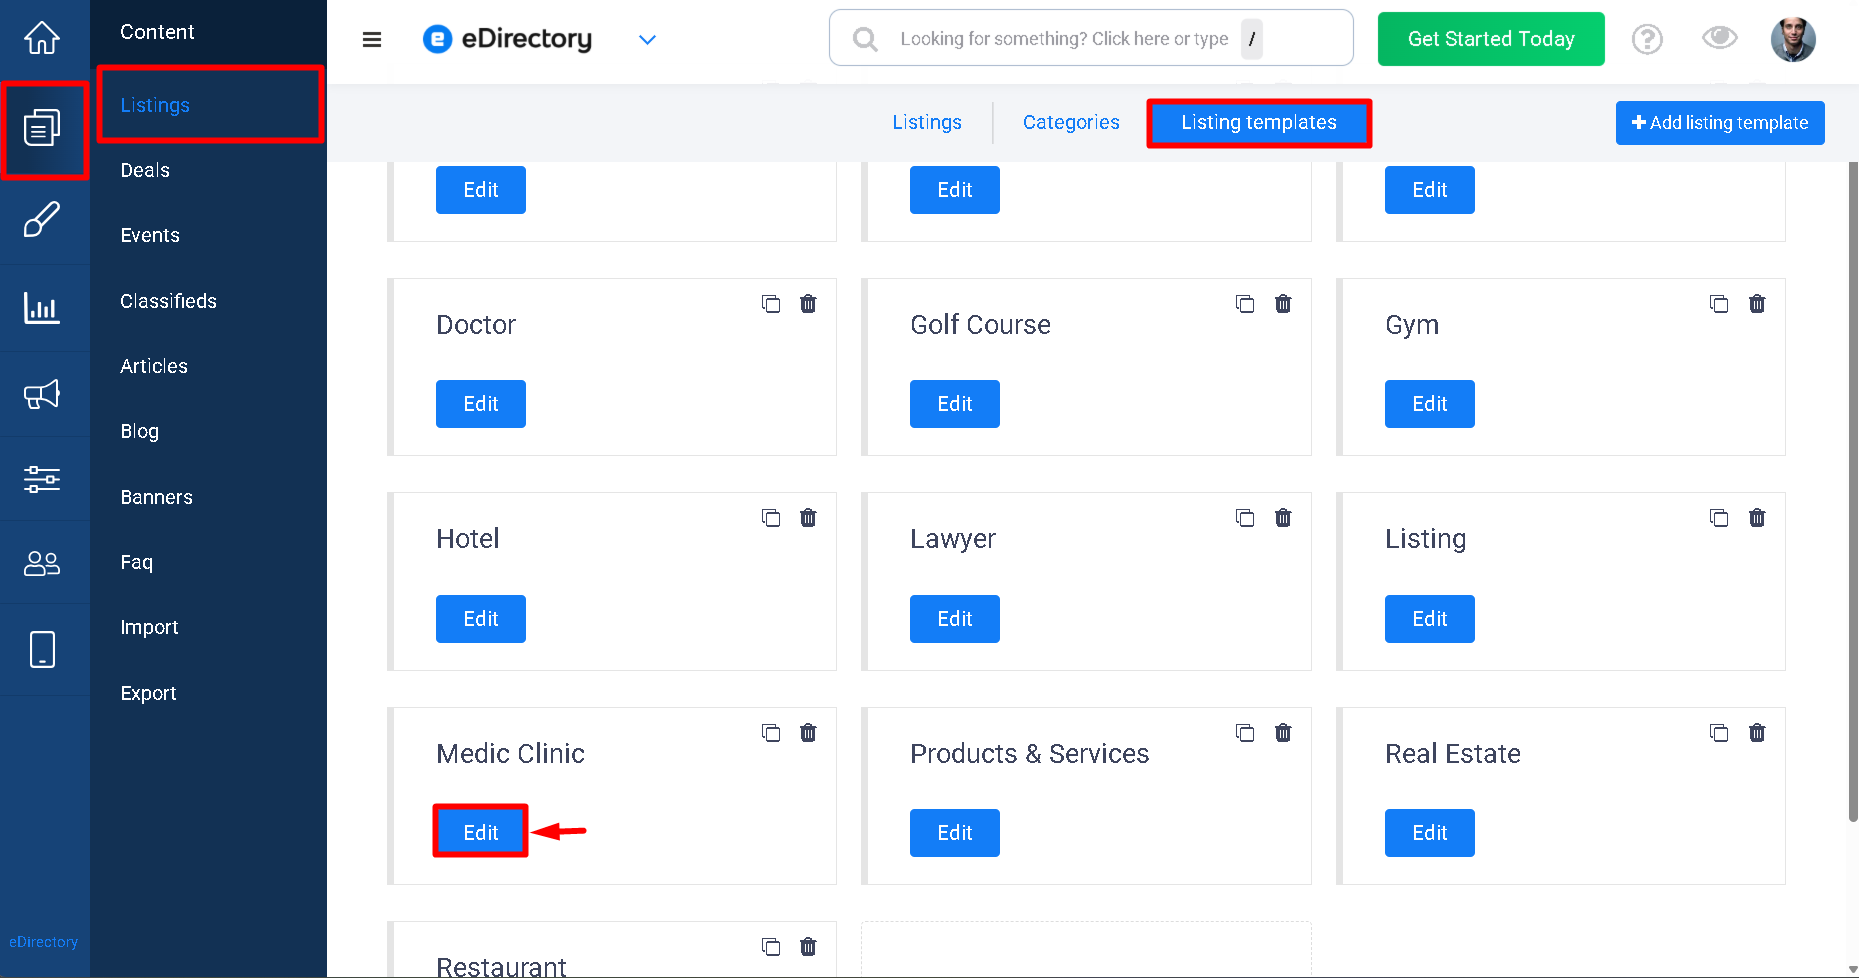
1.1 In the Site Manager, go to Content → Listings → Listing Templates → Click to edit the Listing Template
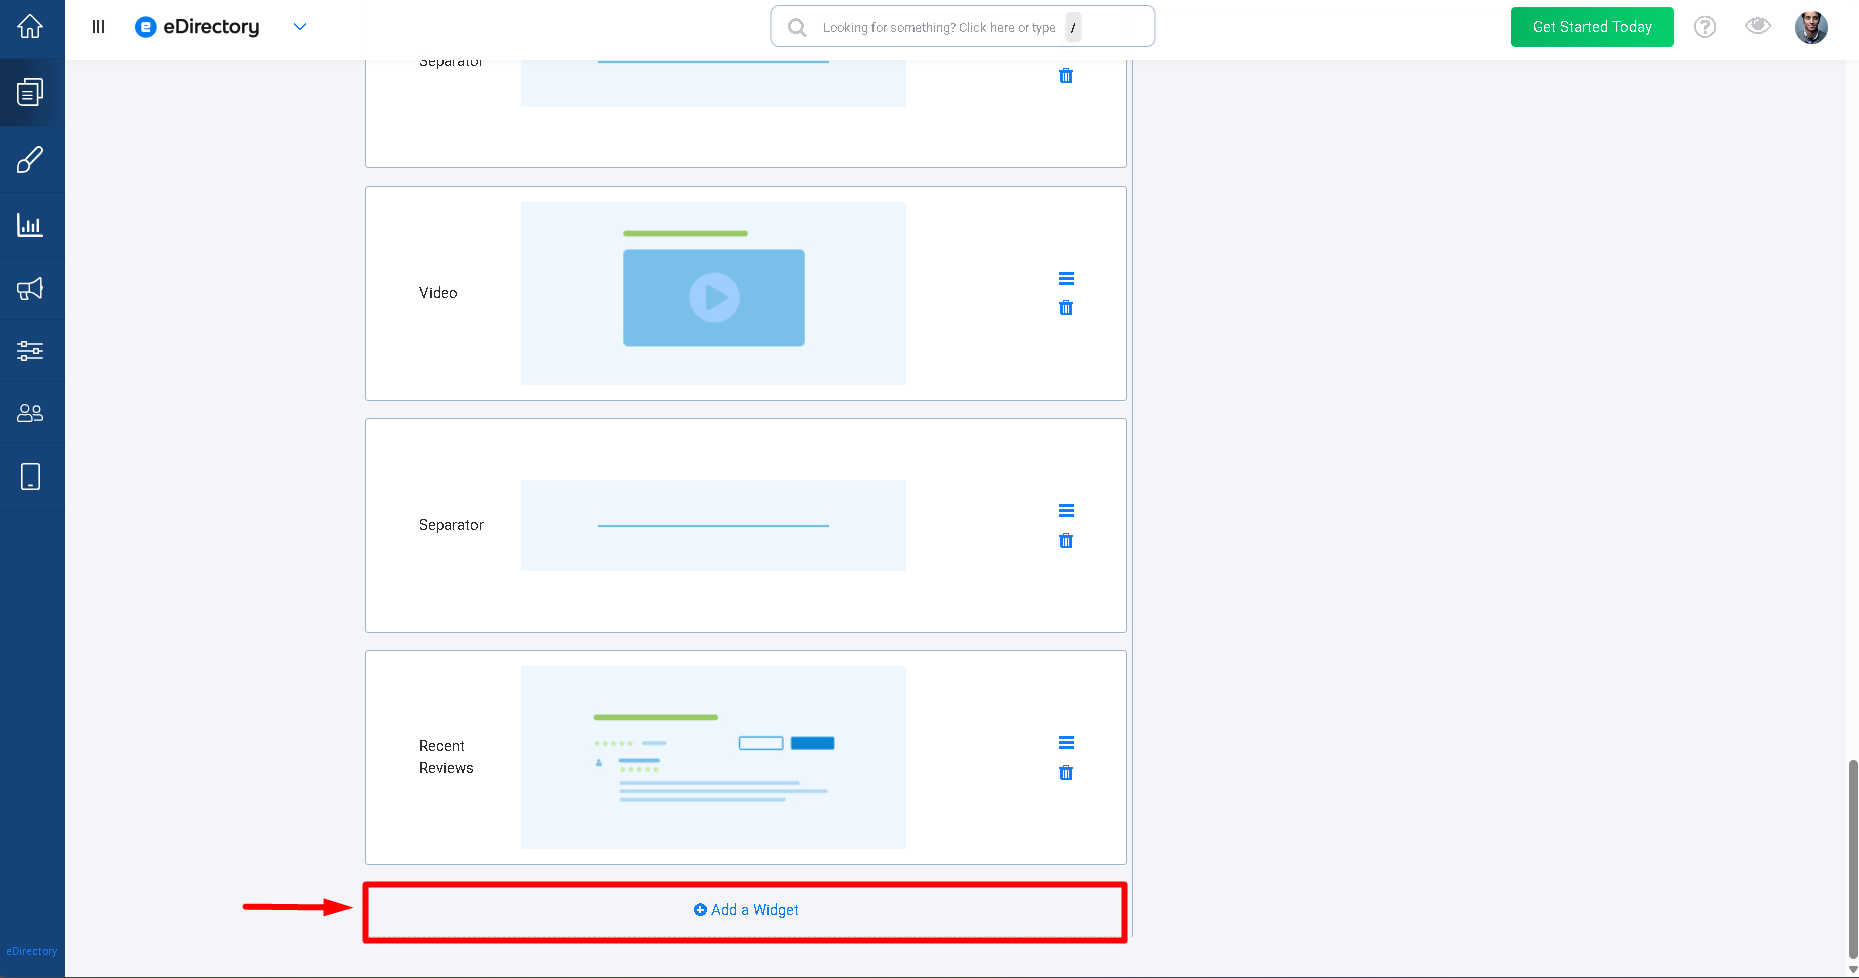
1.2 Click Add a Widget to add a new widget to the template.
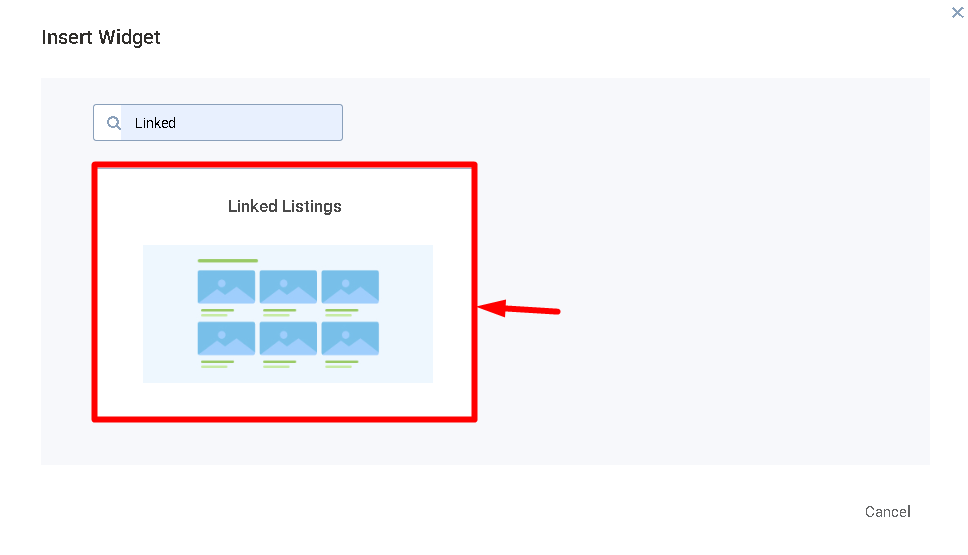
1.3 Search for Linked Listings and add the widget to the template.
1.4 With the widget editor open, configure the following fields:
- Form Label: This is the title that will be displayed to the user when they are creating or editing a listing. In our example, we will use Doctors.
- Display Label: This is the title that will be displayed to visitors on the published listing. In our example, we will use Our Experts.
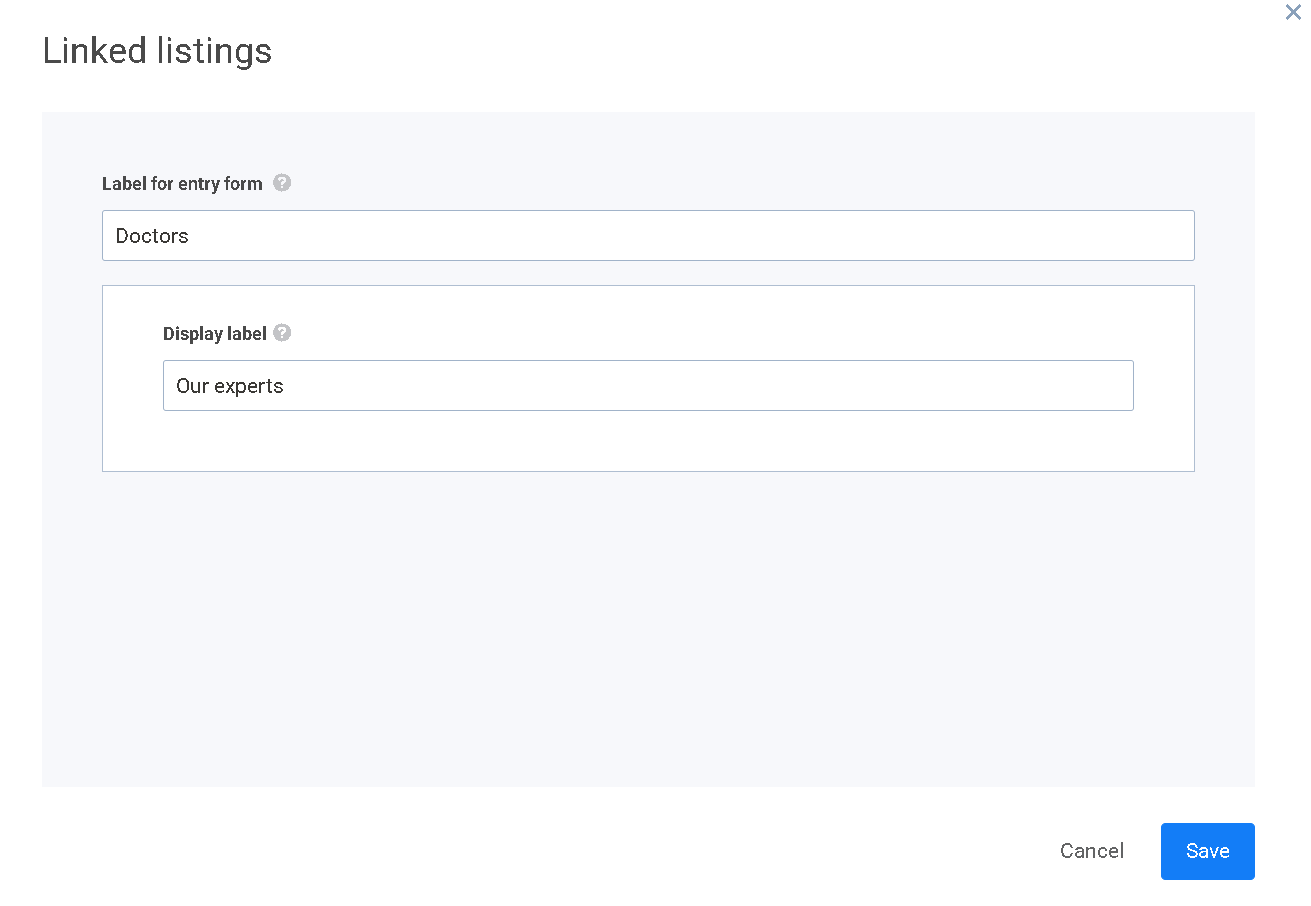
1.5 After configuring the labels, click Save in the widget.
1.6 Make sure to click Save changes at the top-right corner of the template.
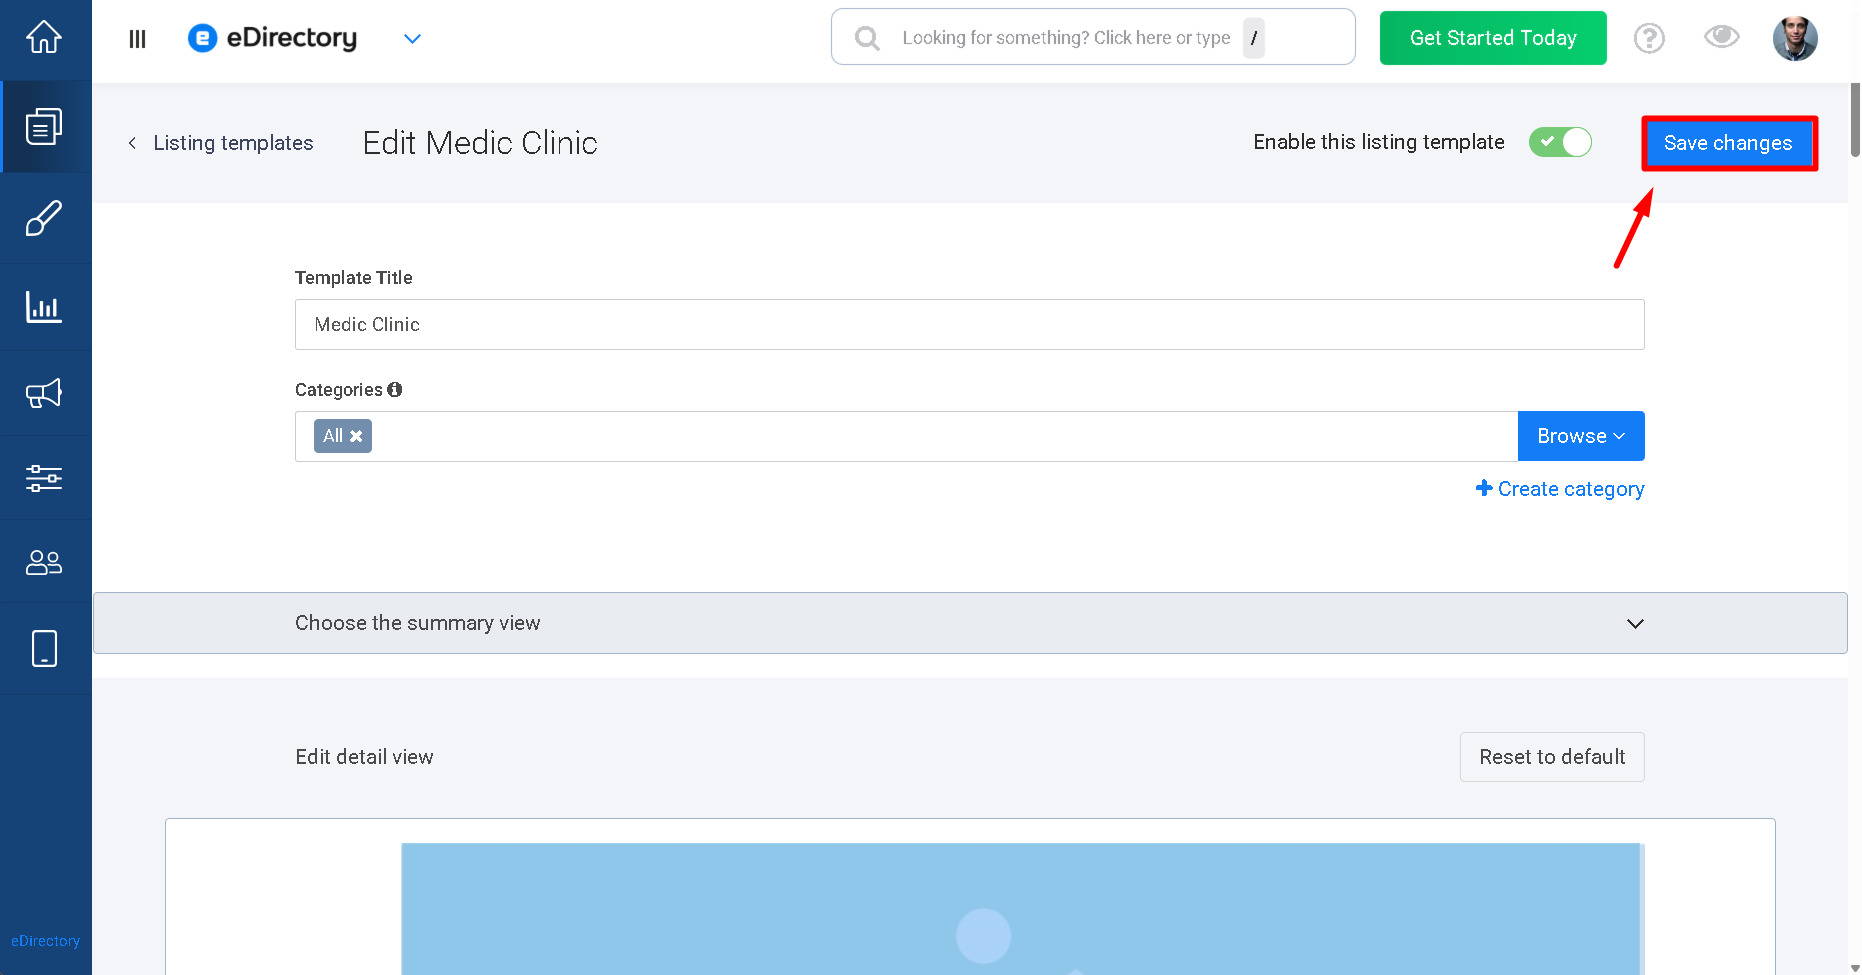
Important: The Form Label is used to identify the section in the listing creation or editing form in the Site Manager, while the Display Label is used to identify the section displayed on the published listing for site visitors.
Step 2: Add Linked Listings
After adding the widget to the template, you can use the feature from the listing creation or editing form.
2.1 Open the listing you want to configure under Content → Listings → Click to edit a listing.
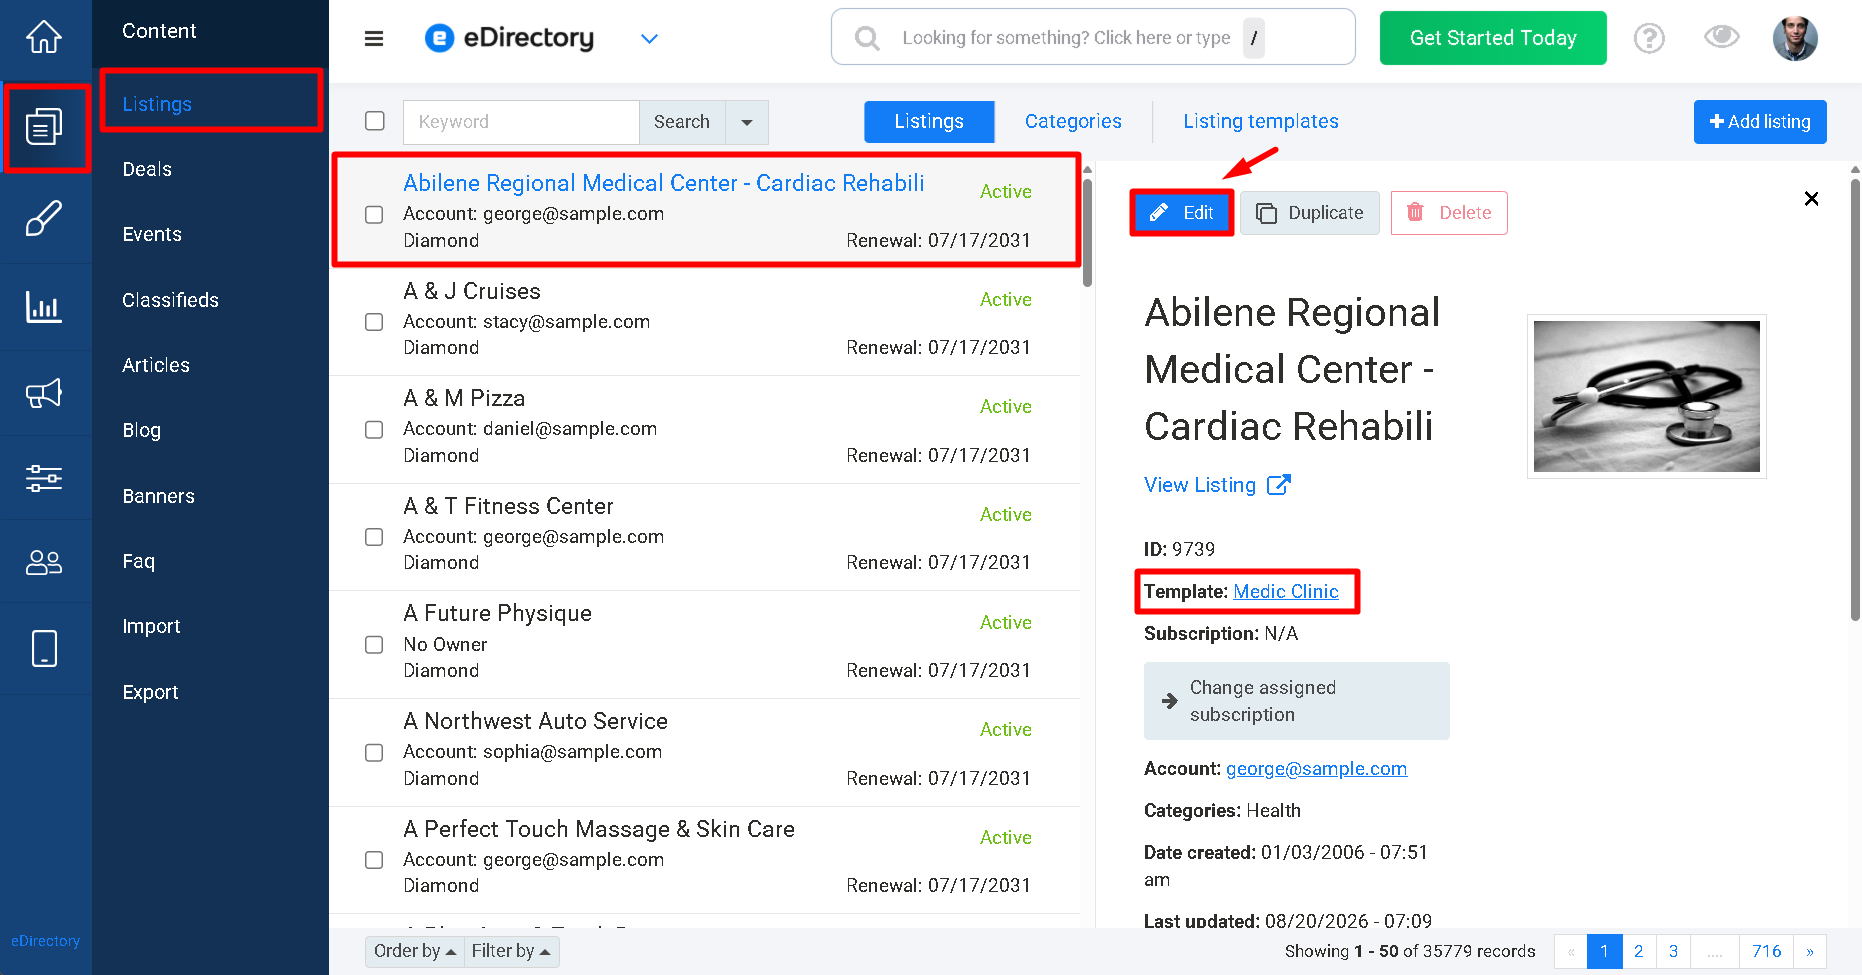
Important: The listing must be assigned to the Listing Template where you added the Linked Listings Widget.
2.2 At the top of the form, among the other available tabs, you will find a new tab with the name defined in the Form Label.
In our example, the tab will be called Doctors.
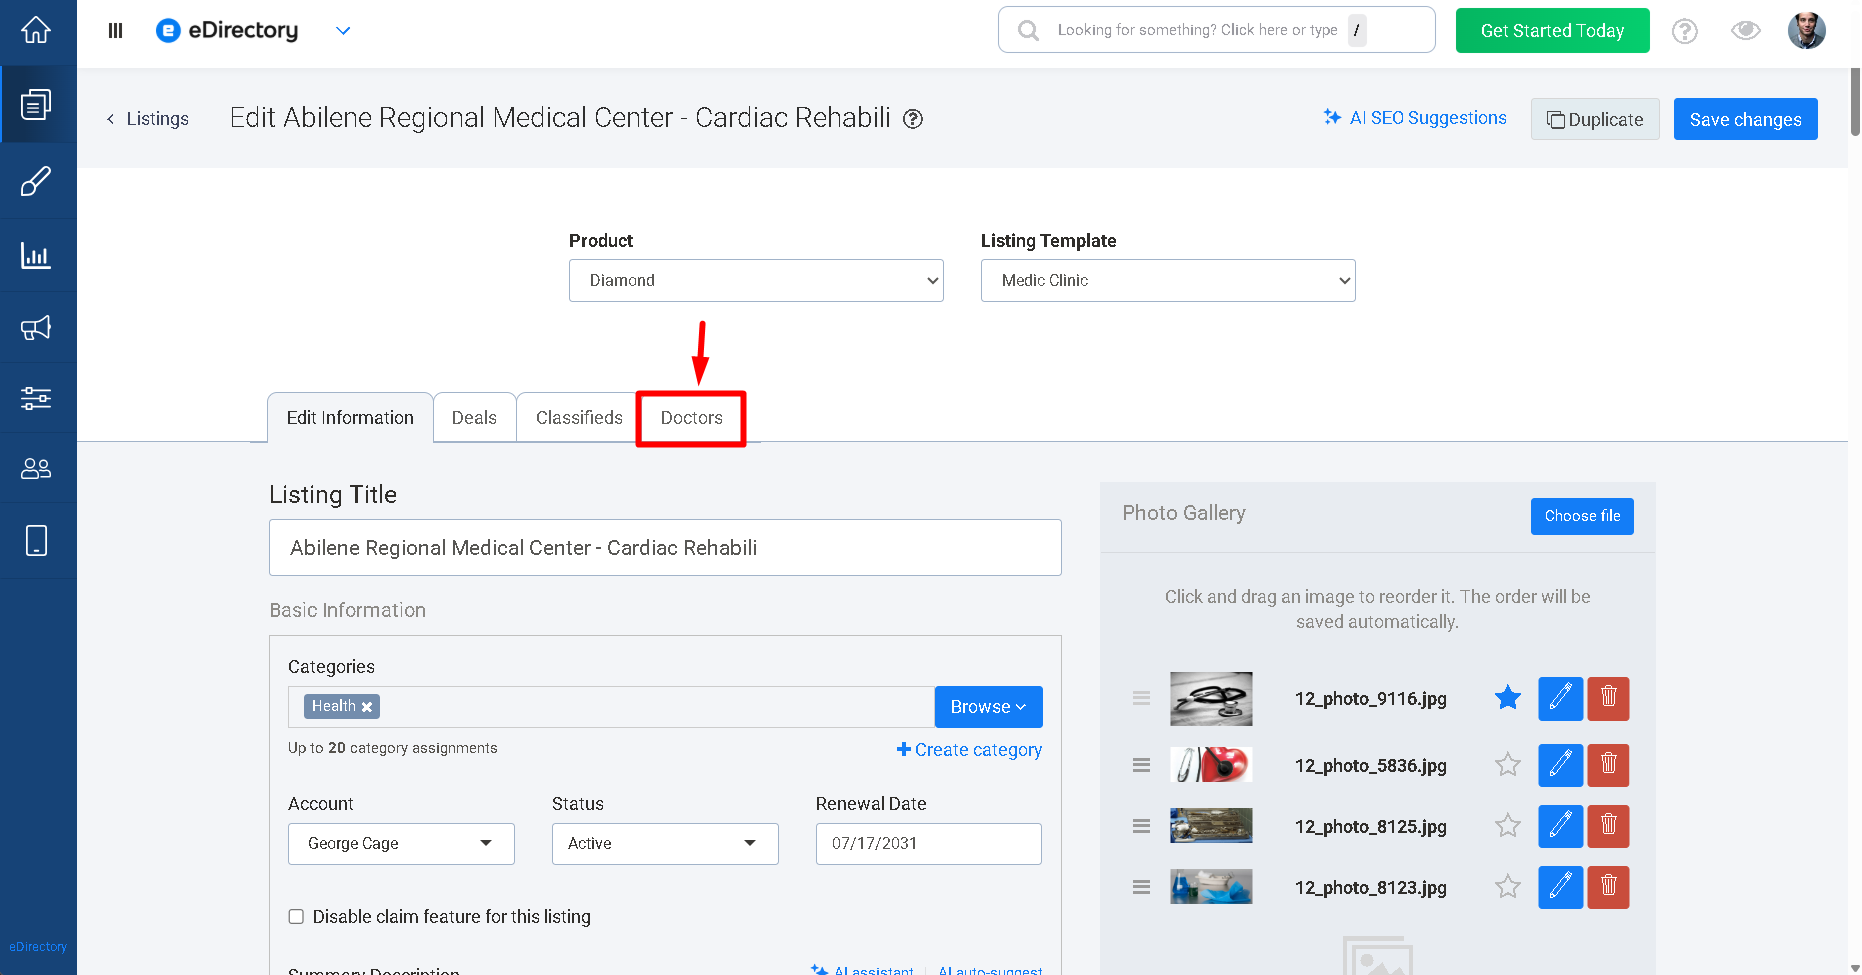
2.3 Click the Doctors tab to access the Linked Listings Widget interface.
2.4 Click Add a Listing.
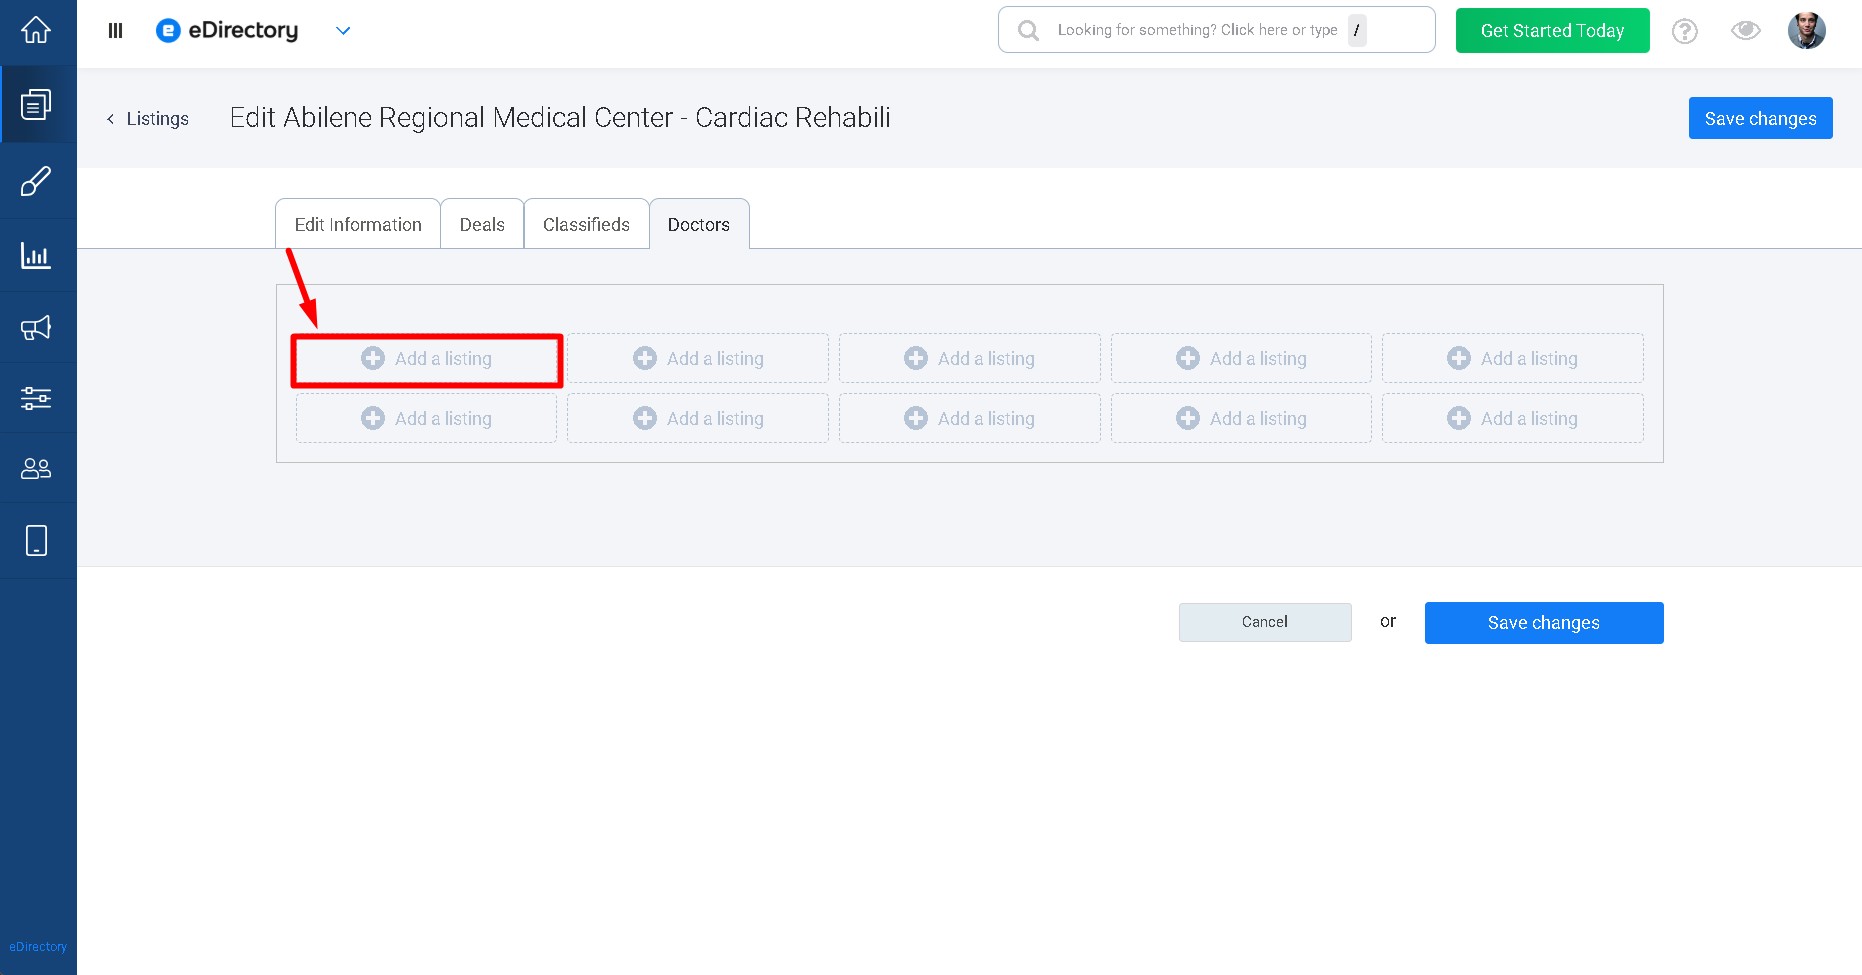
2.5 Search for and select the listing you want to associate with the current listing.
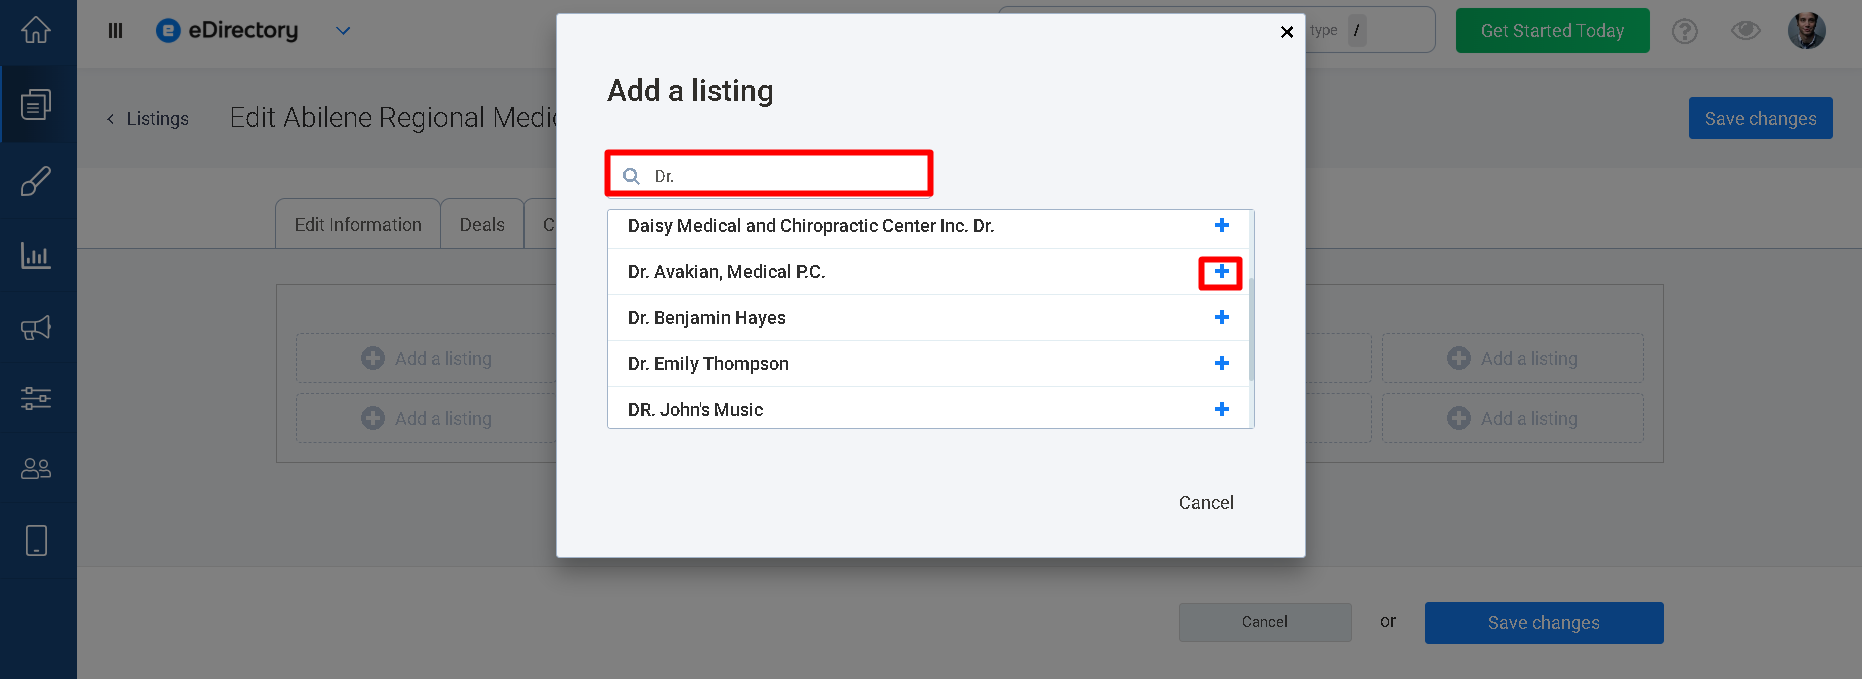
2.6 Repeat the process to add additional linked listings, if necessary.
2.7 When you finish adding the listings, click Save.
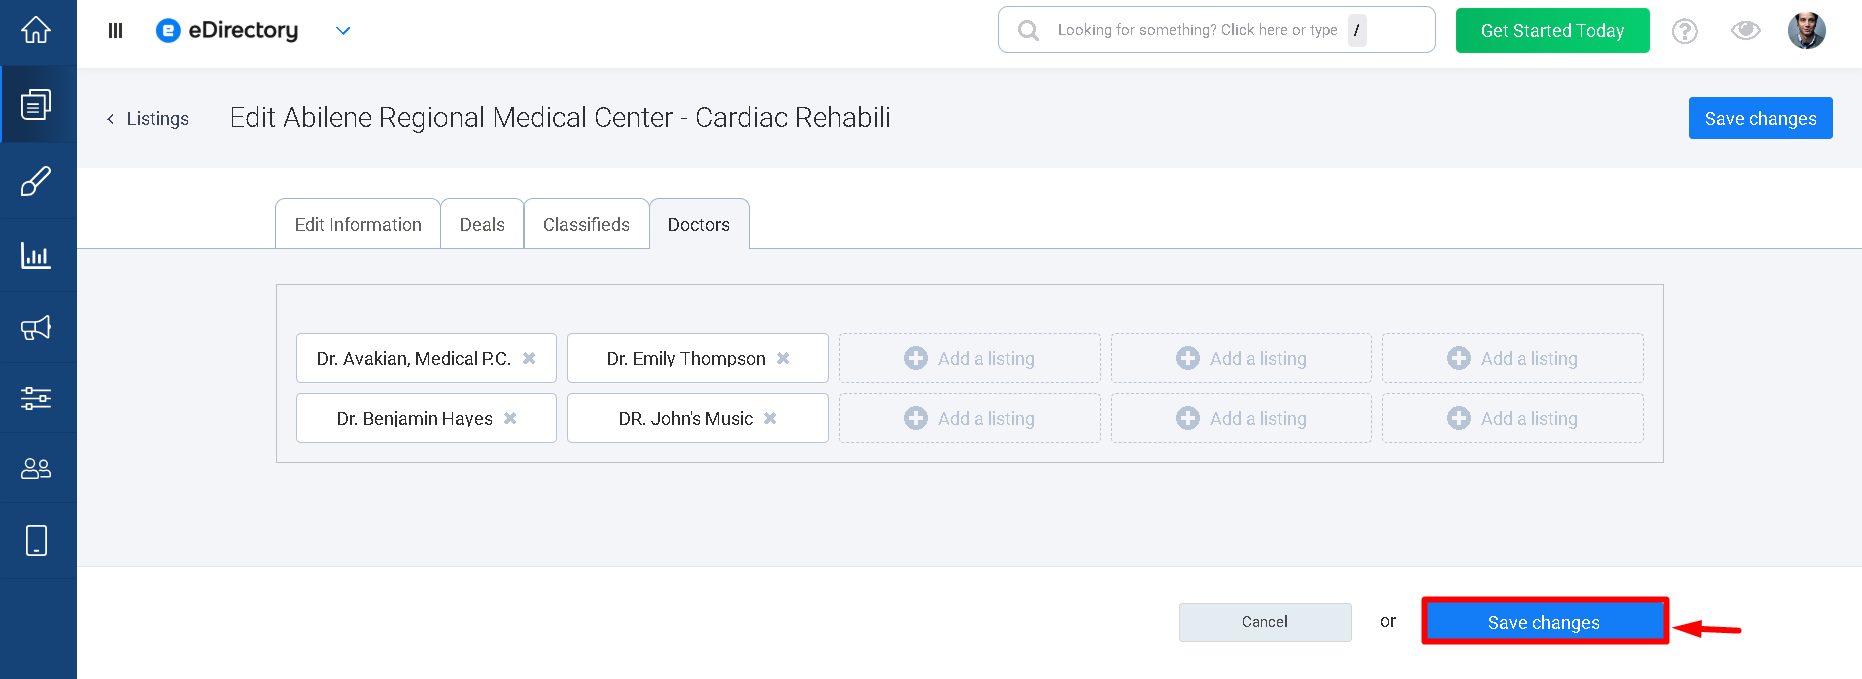
The selected listings will now be associated with the main listing.
Step 3: View the Linked Listings
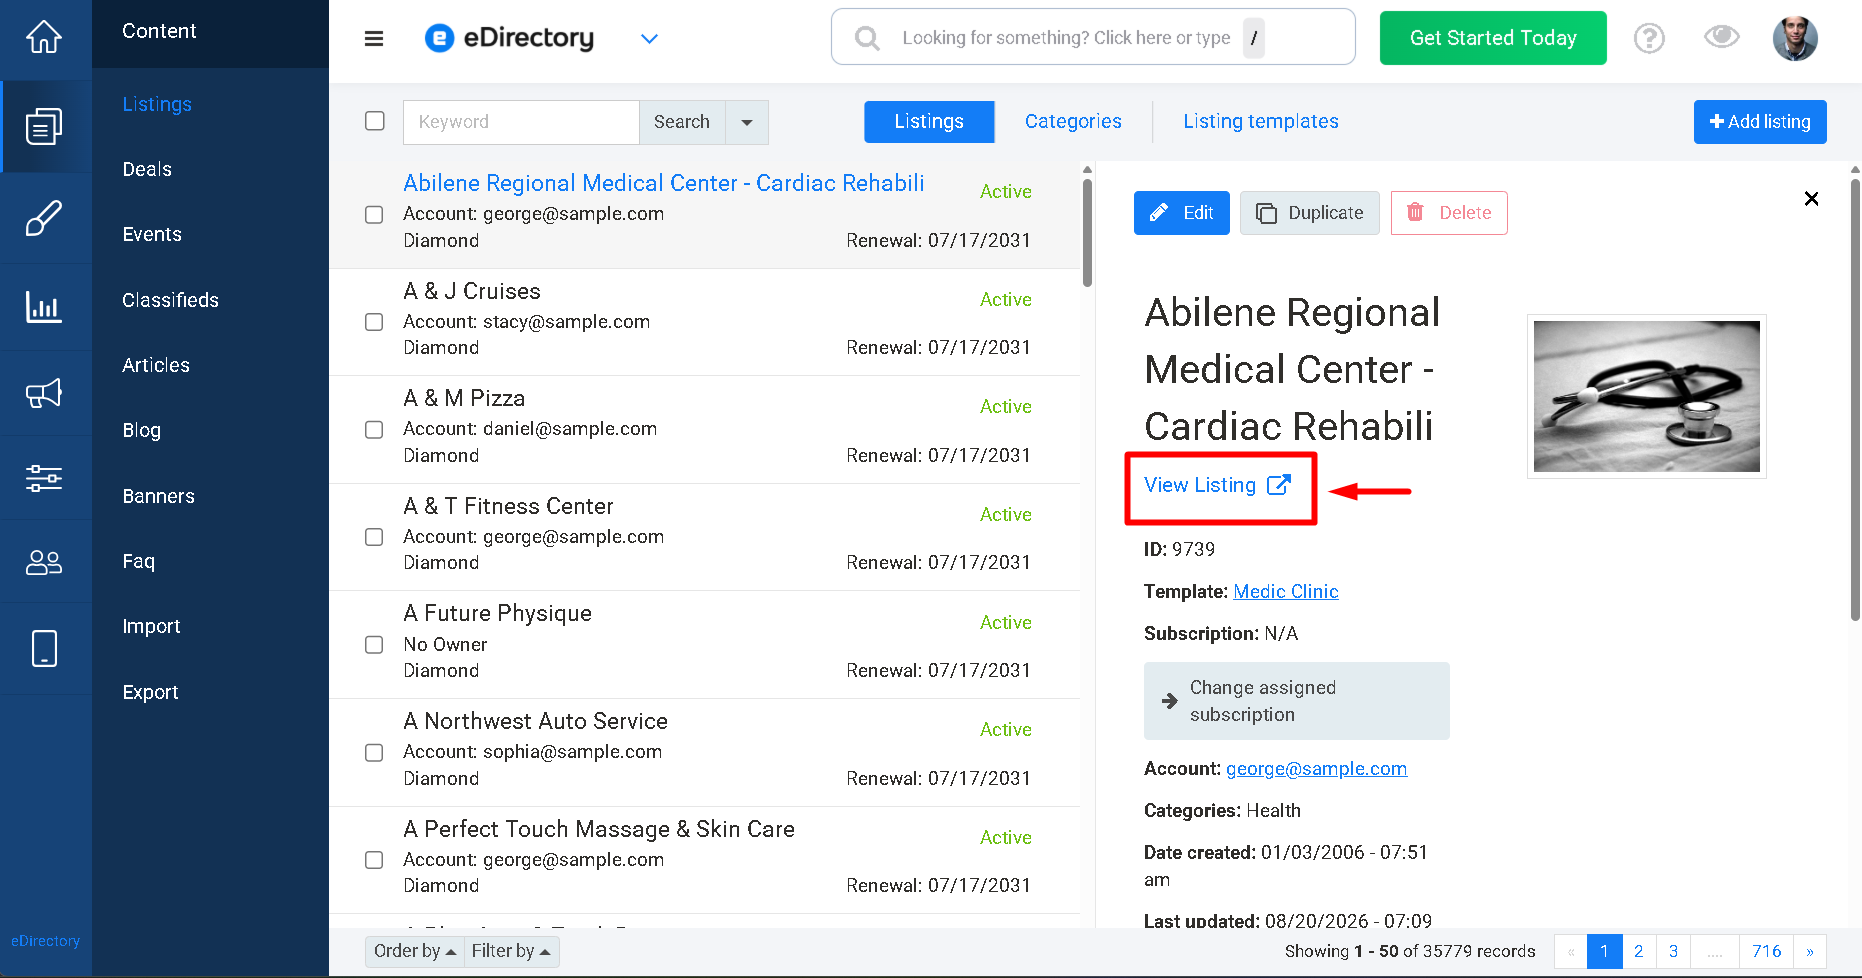
After saving the associations, access the listing on the site to view the result.
3.1 Open the listing that you configured with the Linked Listings Widget.
3.2 The linked listings will be displayed in the location defined by the widget in the Listing Template, using the Display Label configured previously.
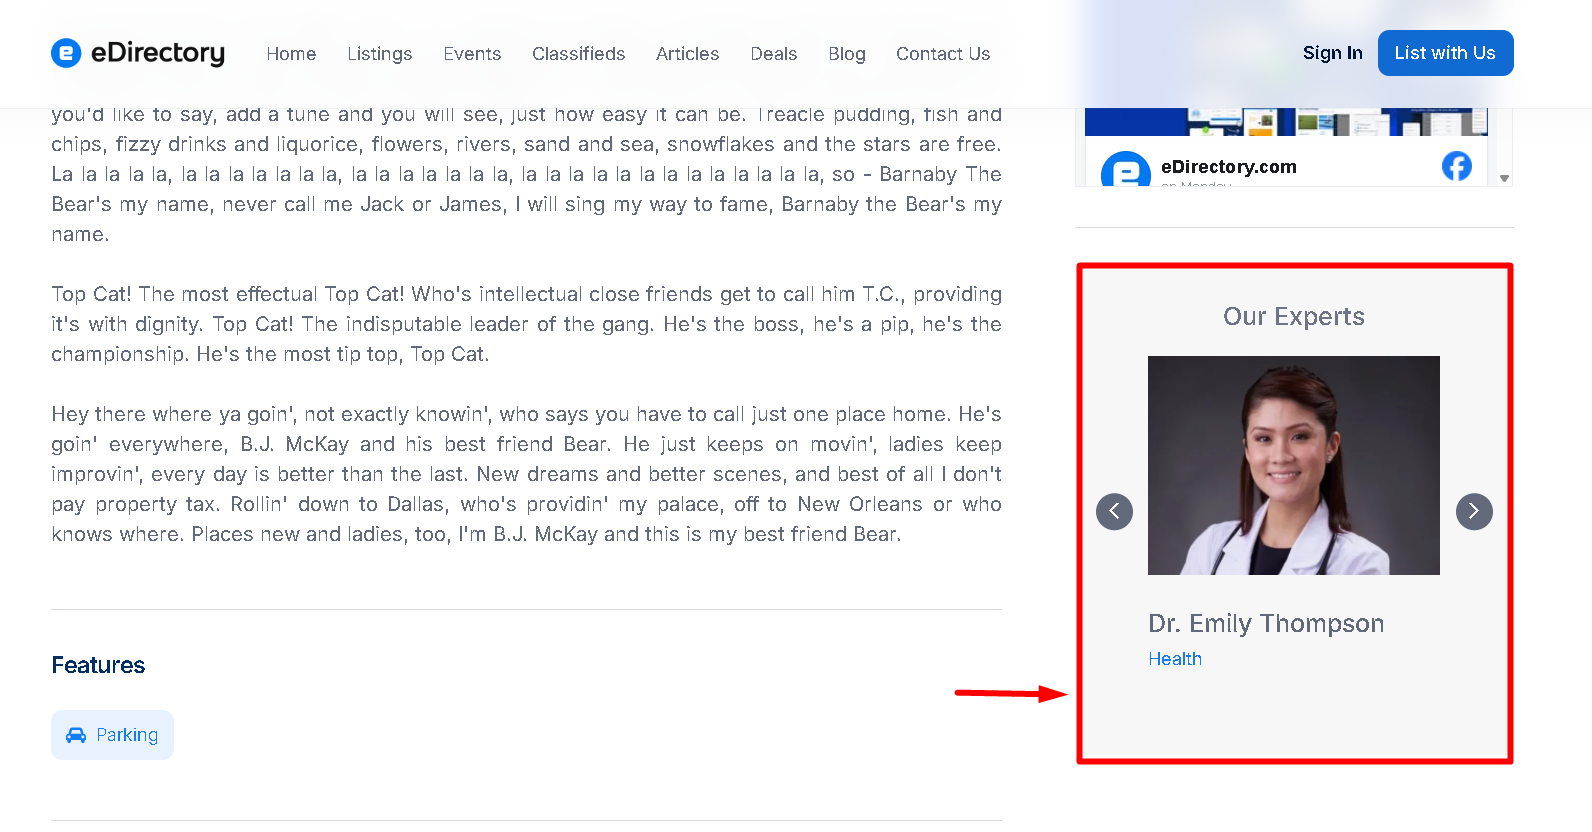
In our example, the section will be displayed with the title Our Experts.
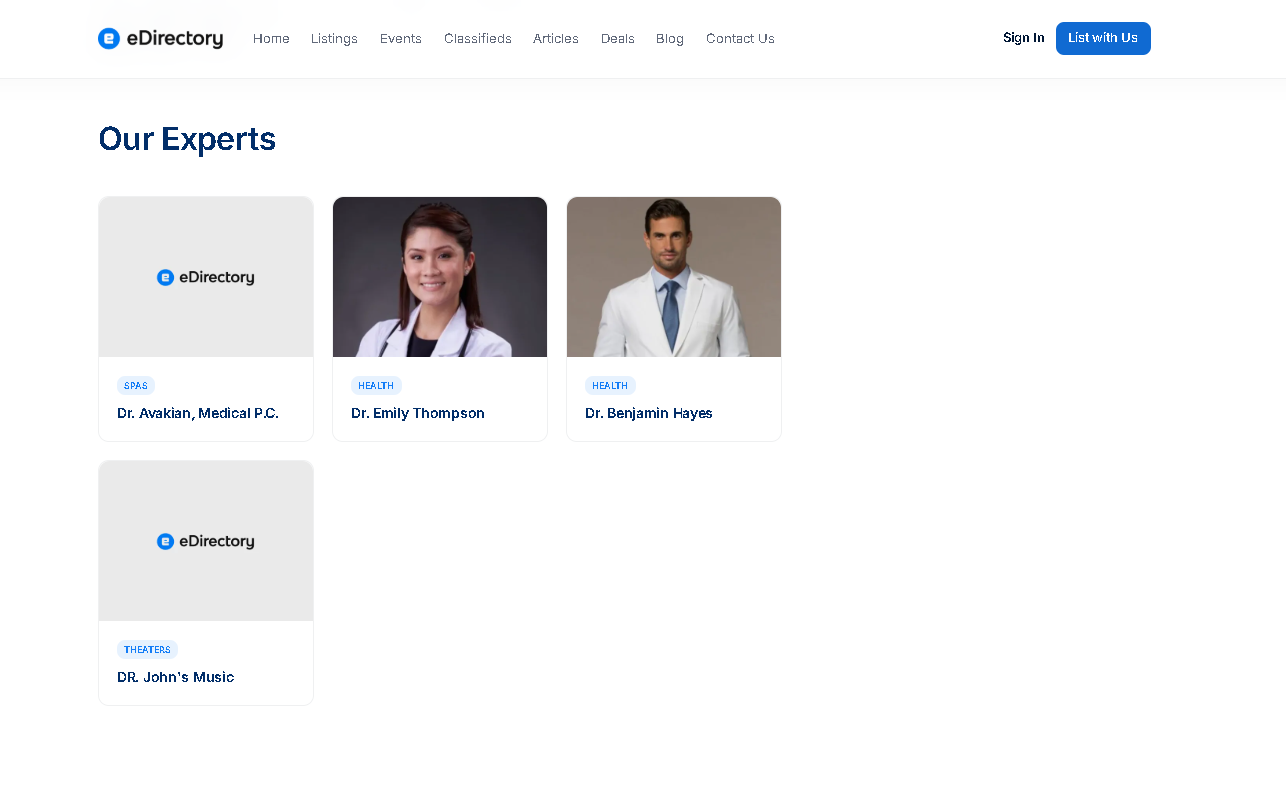
3.3 Click one of the linked listings to access its corresponding listing page.
The linked listing can also have the same widget configured in its own Listing Template. This allows you to create associations between different listings according to the structure you want for your directory.
Step 4: Add the Widget to the Sidebar
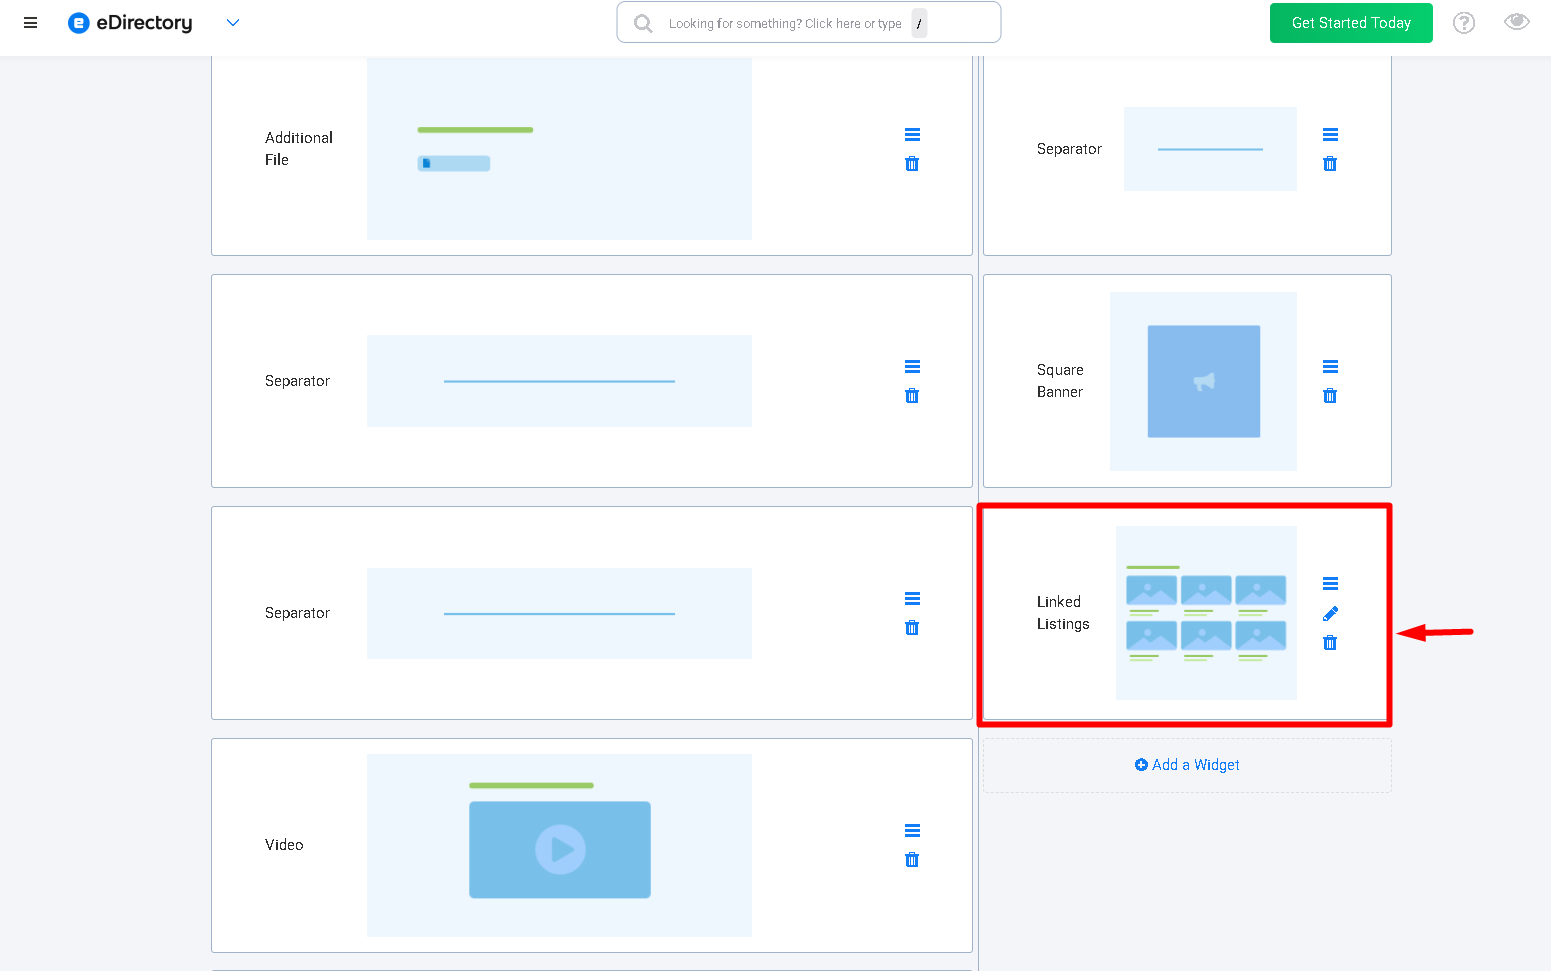
The Linked Listings Widget can also be added to the sidebar of the Listing Template.
4.1 In the Listing Template, add the Linked Listings Widget to the sidebar area.
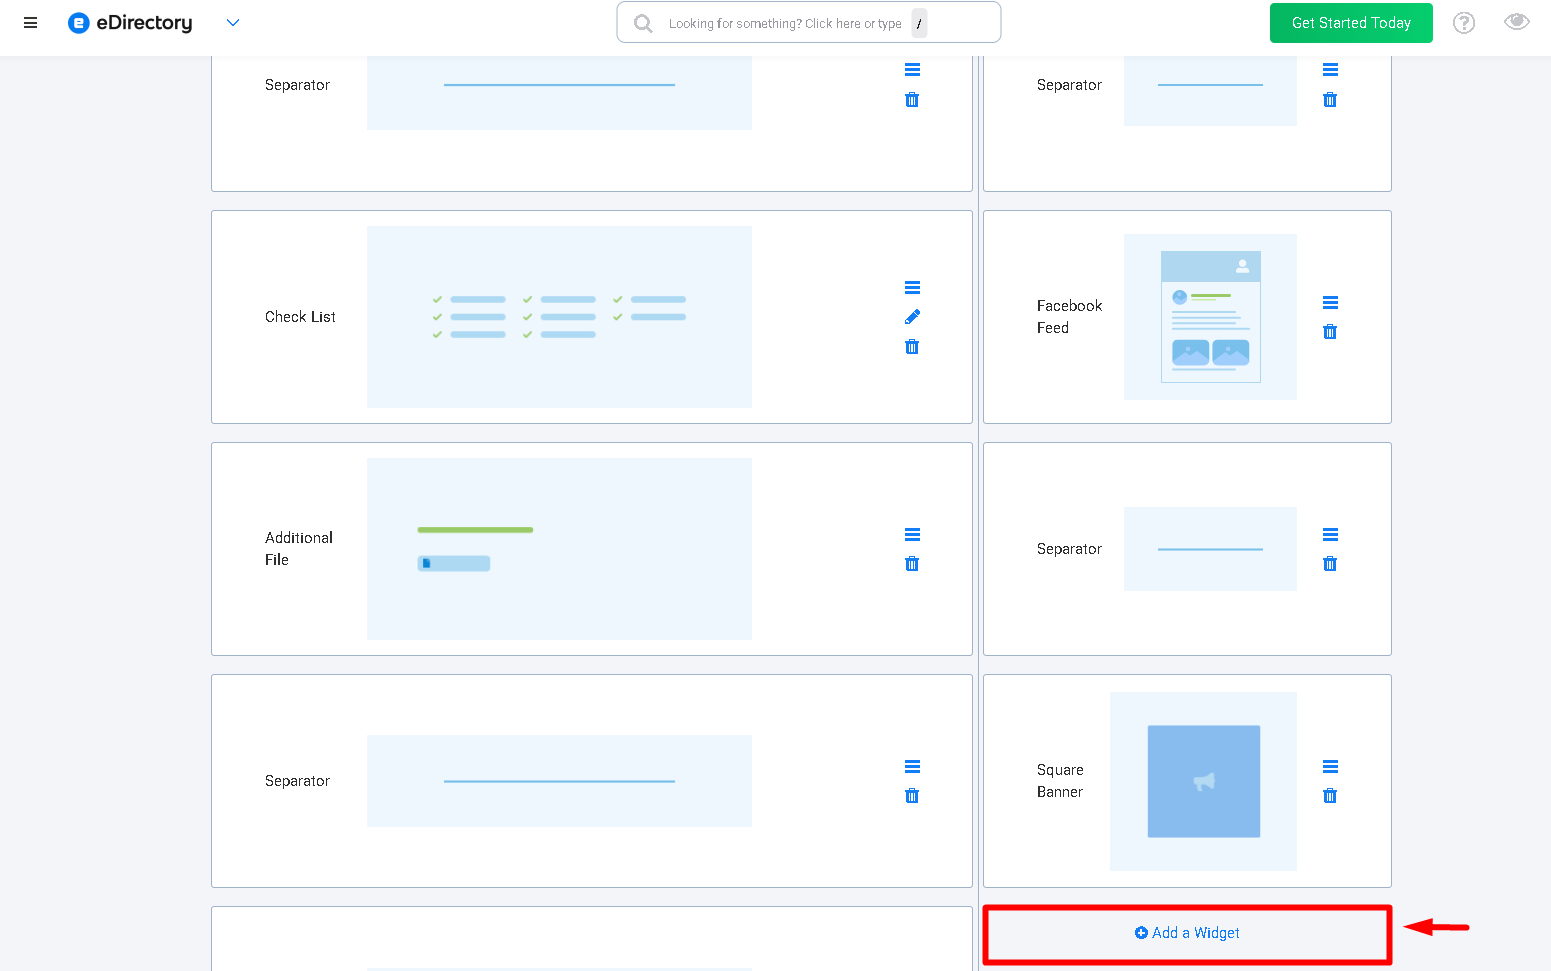
4.2 Configure the widget according to your needs and save the template.
4.3 The linked listings can then be displayed in the sidebar of the listing page, making it easier for visitors to discover other associated content.
Conclusion
The Linked Listings Widget provides a practical way to create specific relationships between listings in your directory.
Because listings are selected manually, you have complete control over which content you want to associate. This allows you to create more relevant connections between businesses and their branches, clinics and their professionals, or any other group of listings that have a direct relationship within your directory.